
How To DIY Roman Clay: Our Edmonton Entry Reveal

DIY roman clay tutorial & reveal
I am so excited to finally share our finished entry. This was a labor of love, but one I am so happy with and love so much. Roman clay is one of my favorite wall treatments. I love the modern, European plaster finish so much. For this project I used Portola’s Roman clay in the color Piano room. It’s soft, warm, and welcoming.
One of my most asked questions is always what the difference between Roman Clay & Limewash is, so let’s chat about that real quick. I have actually DIY’ed both in our homes, and love both equally, they just provide a different look and feel. Roman clay is an eco friendly plaster finish applied with a trowel to smooth walls. They appear textured but they actually remain smooth after. You do a light sand between coats and once finished, to ensure it’s smooth and remove any marks that the trowel may have left.
Lime wash is applied with a brush, can be done on textured walls and provides a softer less noticeable look than Roman Clay. I applied a DIY lime wash to our primary bedroom in Edmonton a little while back, and you can see the results and how that differs from roman clay here!
As stated, having already applied this same wall treatment to one of the walls in our primary bedroom in our Spokane home (you can see our Spokane primary bedroom wall here, I did the color Salem by Portola Paints) I knew exactly where to start in finding the right materials, colors, etc. Here is what you’ll need—
Your roman clay color of choice. I chose Piano Room by Portola Paints and they ship! I used a 10 kilo bucket for our entry, and used about 2/3 of it. I applied the roman clay to all 4 walls in the space.
You’ll want a few different trowels in different sizes. I used a 4” and 6” metal trowel.
Sanding blocks in medium and fine
STEP 1-
With Roman clay priming is not necessary unless you are going 3 or more shades darker or lighter that the current wall color. Since my walls were Kitty Grey before, a dark moody blue/grey, I primed my walls first.
STEP 2-
Apply the Roman clay in a criss cross pattern using a trowel. Start in one corner and work your way up the wall. With roman clay, you want to work wet to wet, so it is important to not start and stop. I typically work up the wall, and then down until I have the wall complete. It is ok to not fully cover in this first coat. Any spots you miss will be covered in the next coat.
STEP 3-
After the roman clay has dried (I waited 24 hours) you want to do a light sand. This ensures that the walls stay smooth, and removes any bumps left from the trowel.
STEP 4-
Your second coat is applied the same as the first, but I usually work in the opposite direction to ensure there is no pattern on the wall, and also to ensure full coverage. Working wet to wet again, and then allowing to dry completely. I had some picture frame molding on my walls, so I used a paint brush to apply the roman clay to it. It worked perfectly. My baseboards and trim I painted with satin paint that I had color matched to the clay.
step 5-
Finally finish by doing another light sand. You want to remove any bumps, drips etc. The cool thing about roman clay is that the walls are still smooth afterwards, which is a very common misconception because they look textured. You can also seal your roman clay if done in a high traffic area, bathroom etc. I did not seal mine either time I have done it.
I hope you love it as much as I do. Please let me know if you have any questions, and I will be happy to answer them. I absolutely love Roman Clay, and would do my entire house if I had the arm strength. It is definitely a lot of work, but always worth the effort! Thanks for stopping by, and I hope you enjoyed this tutorial.
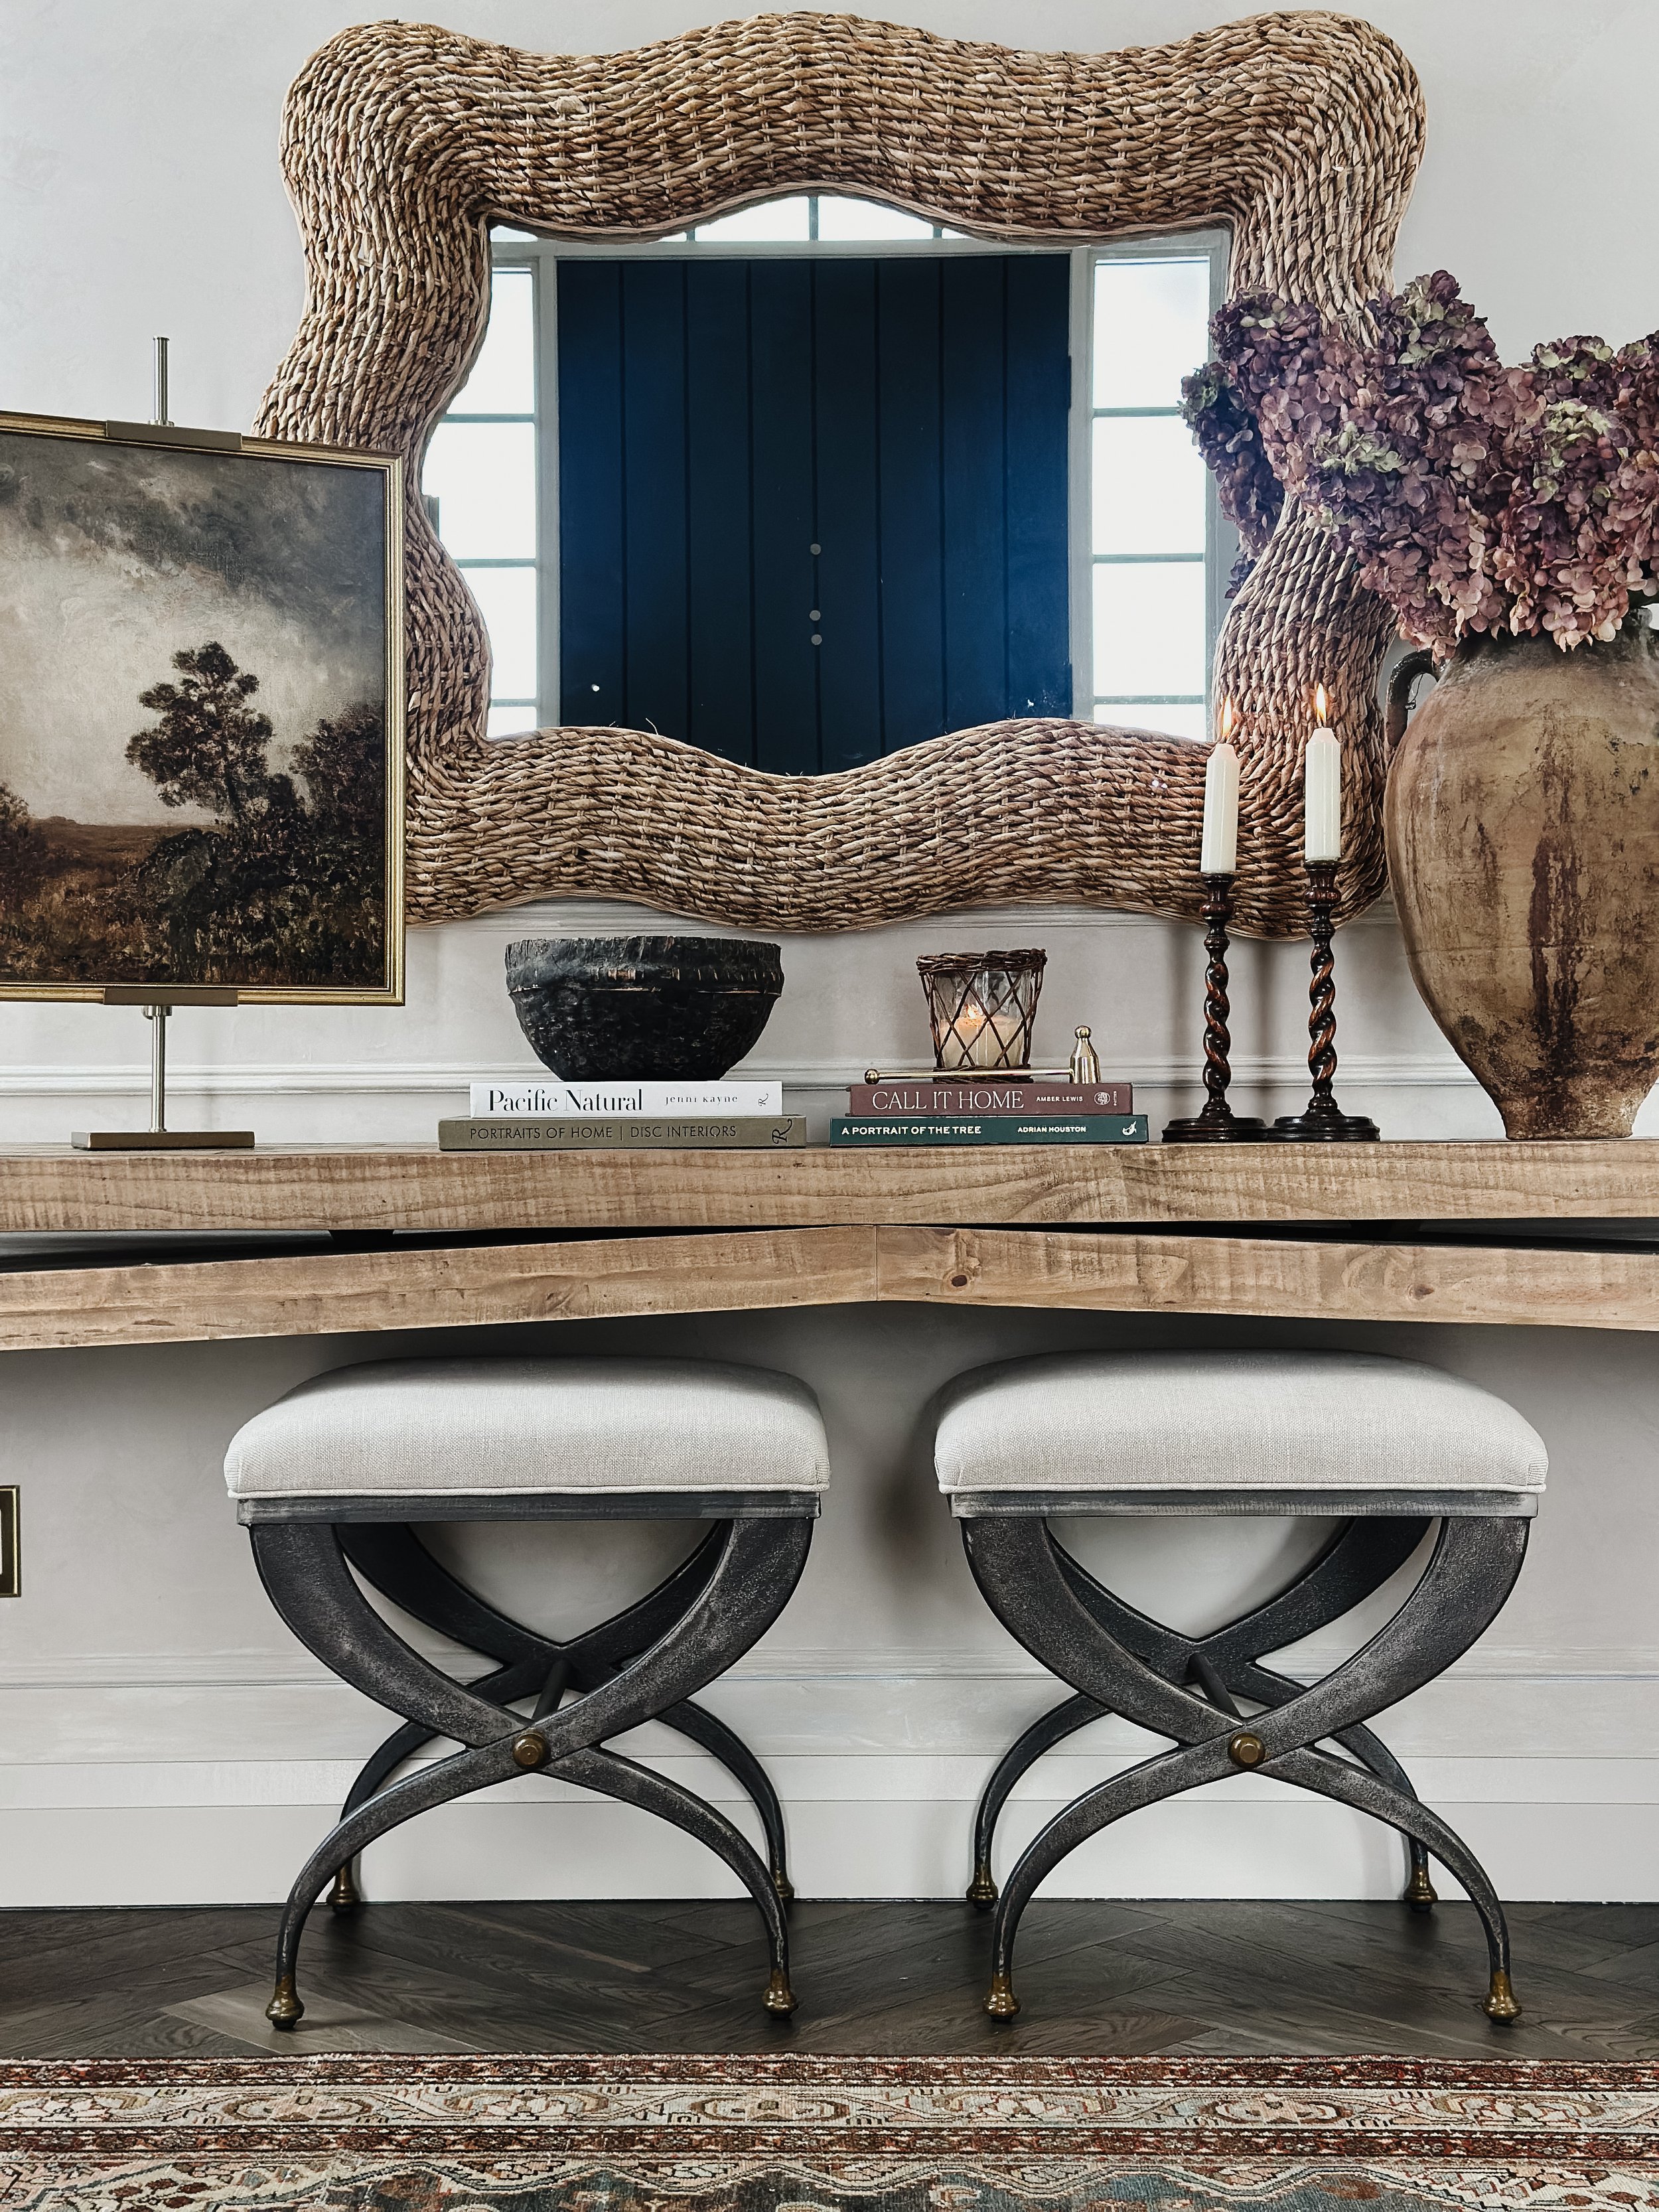
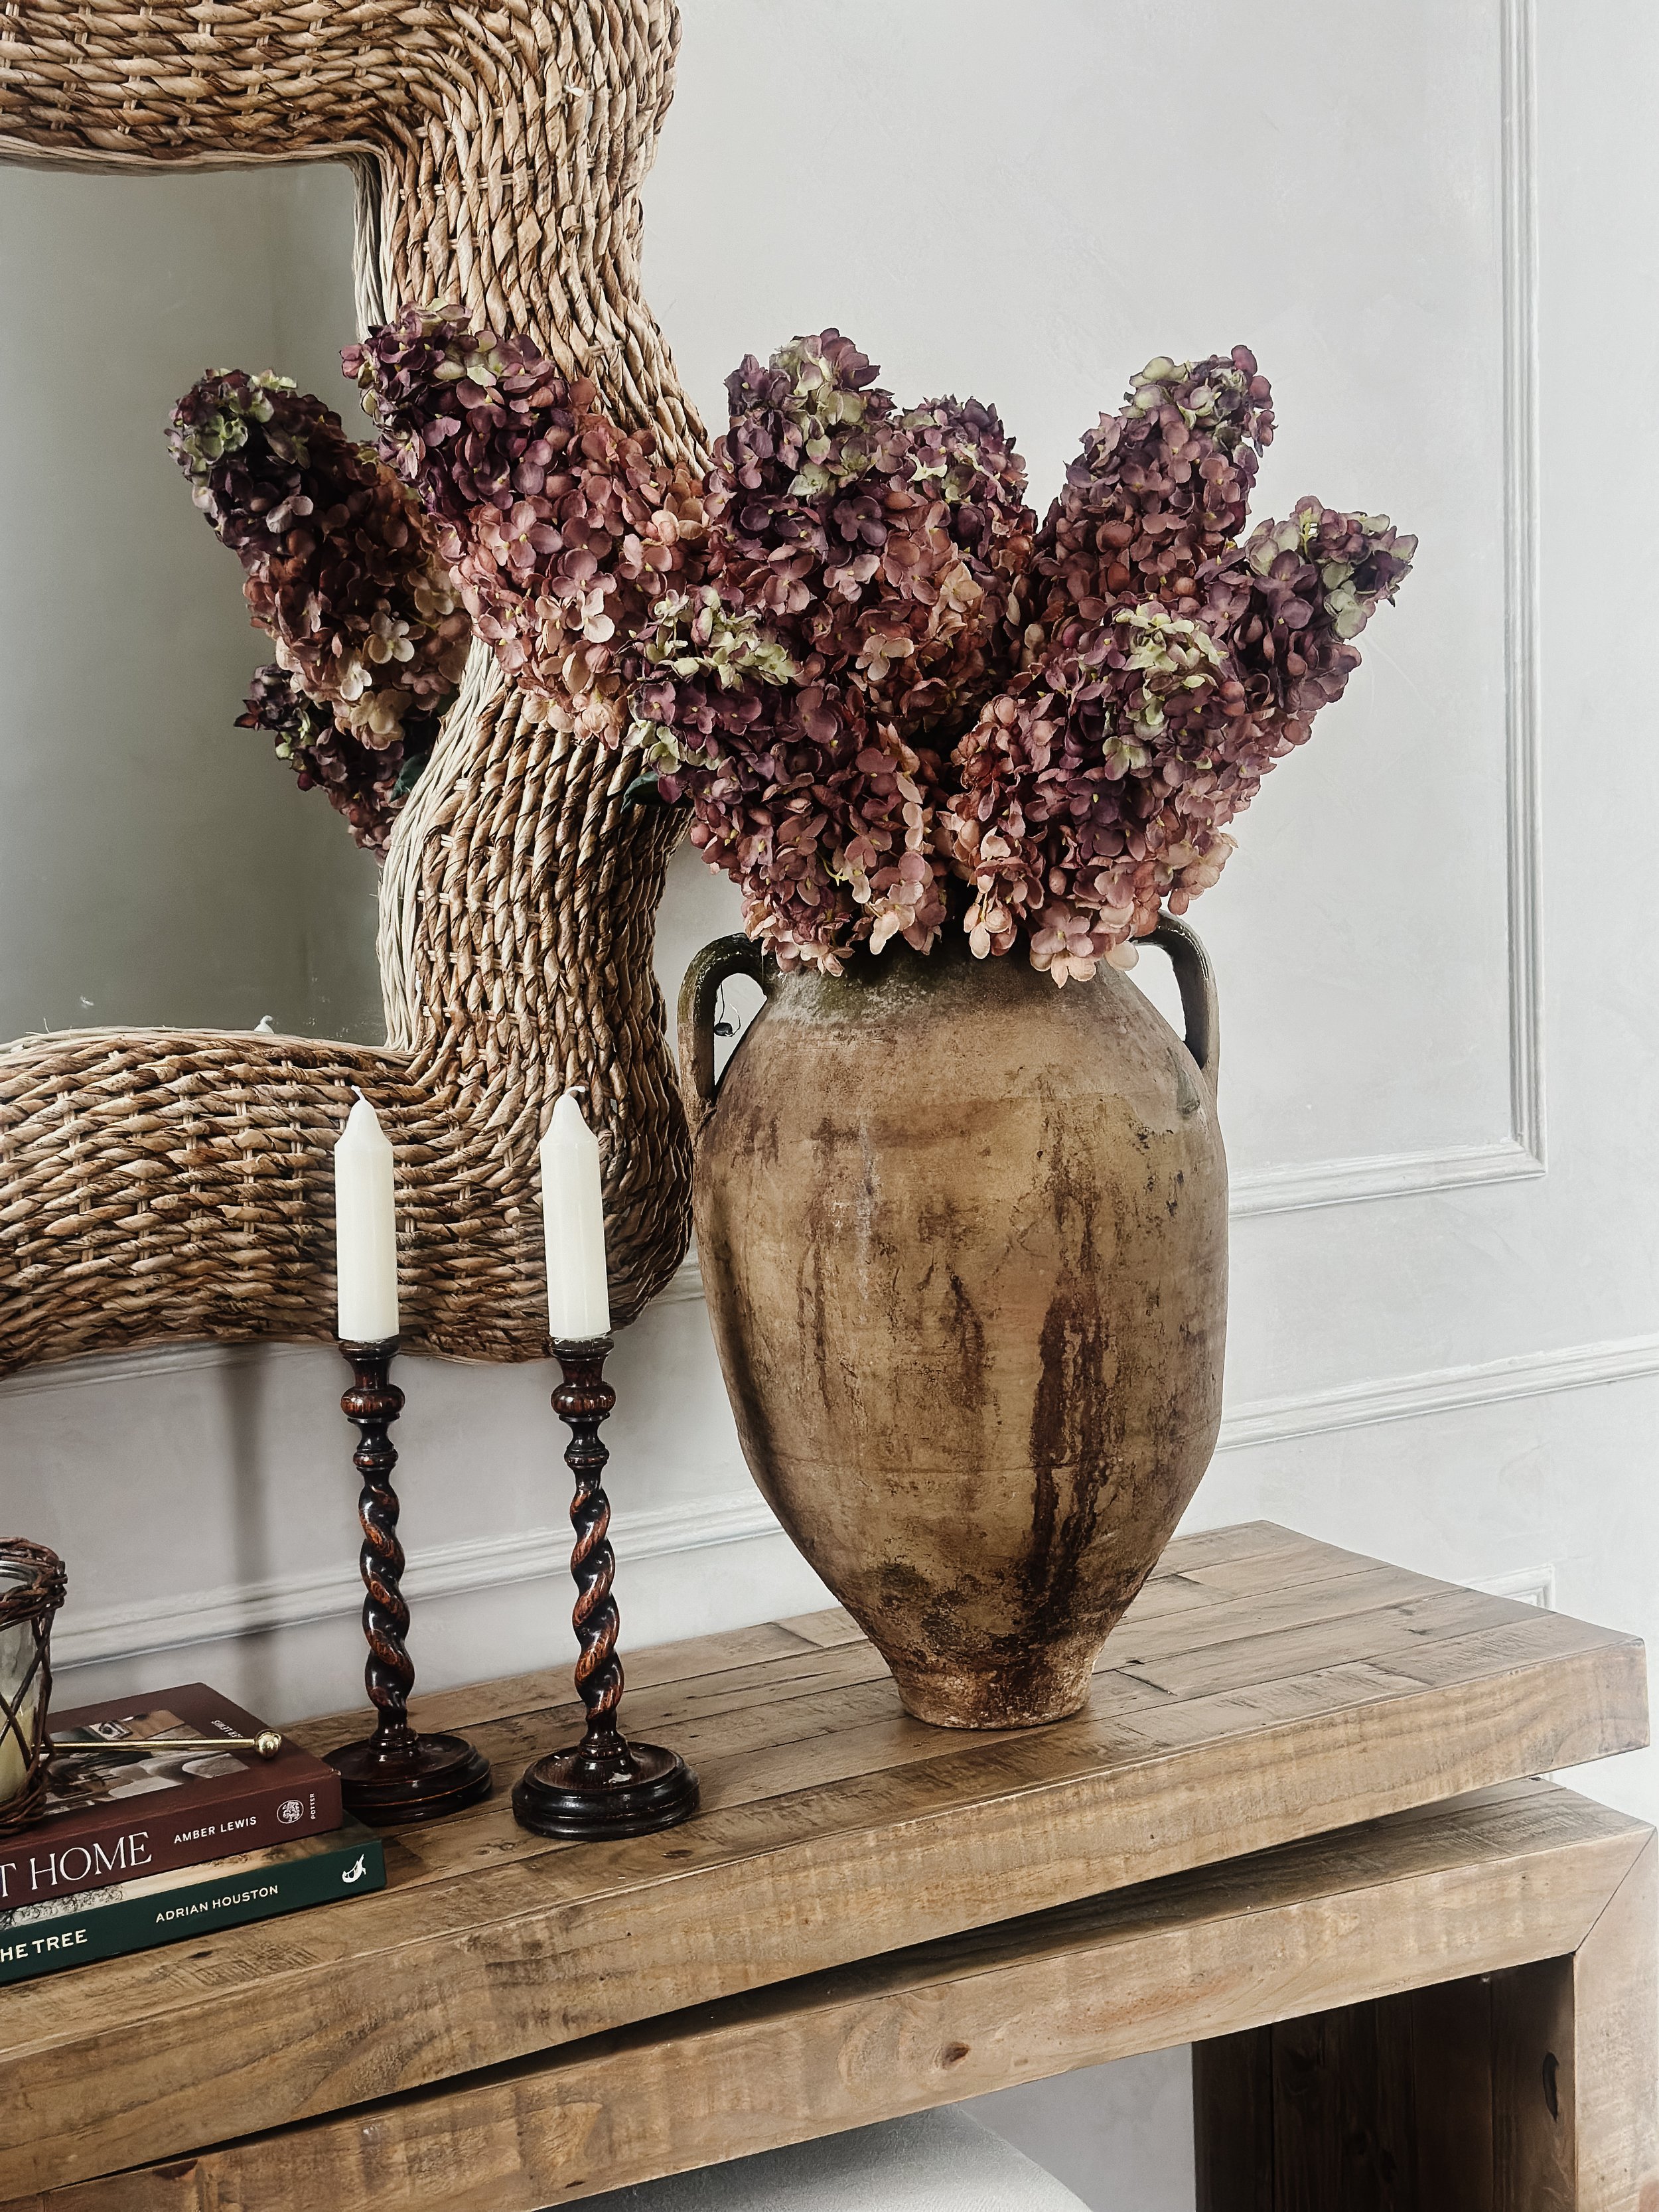
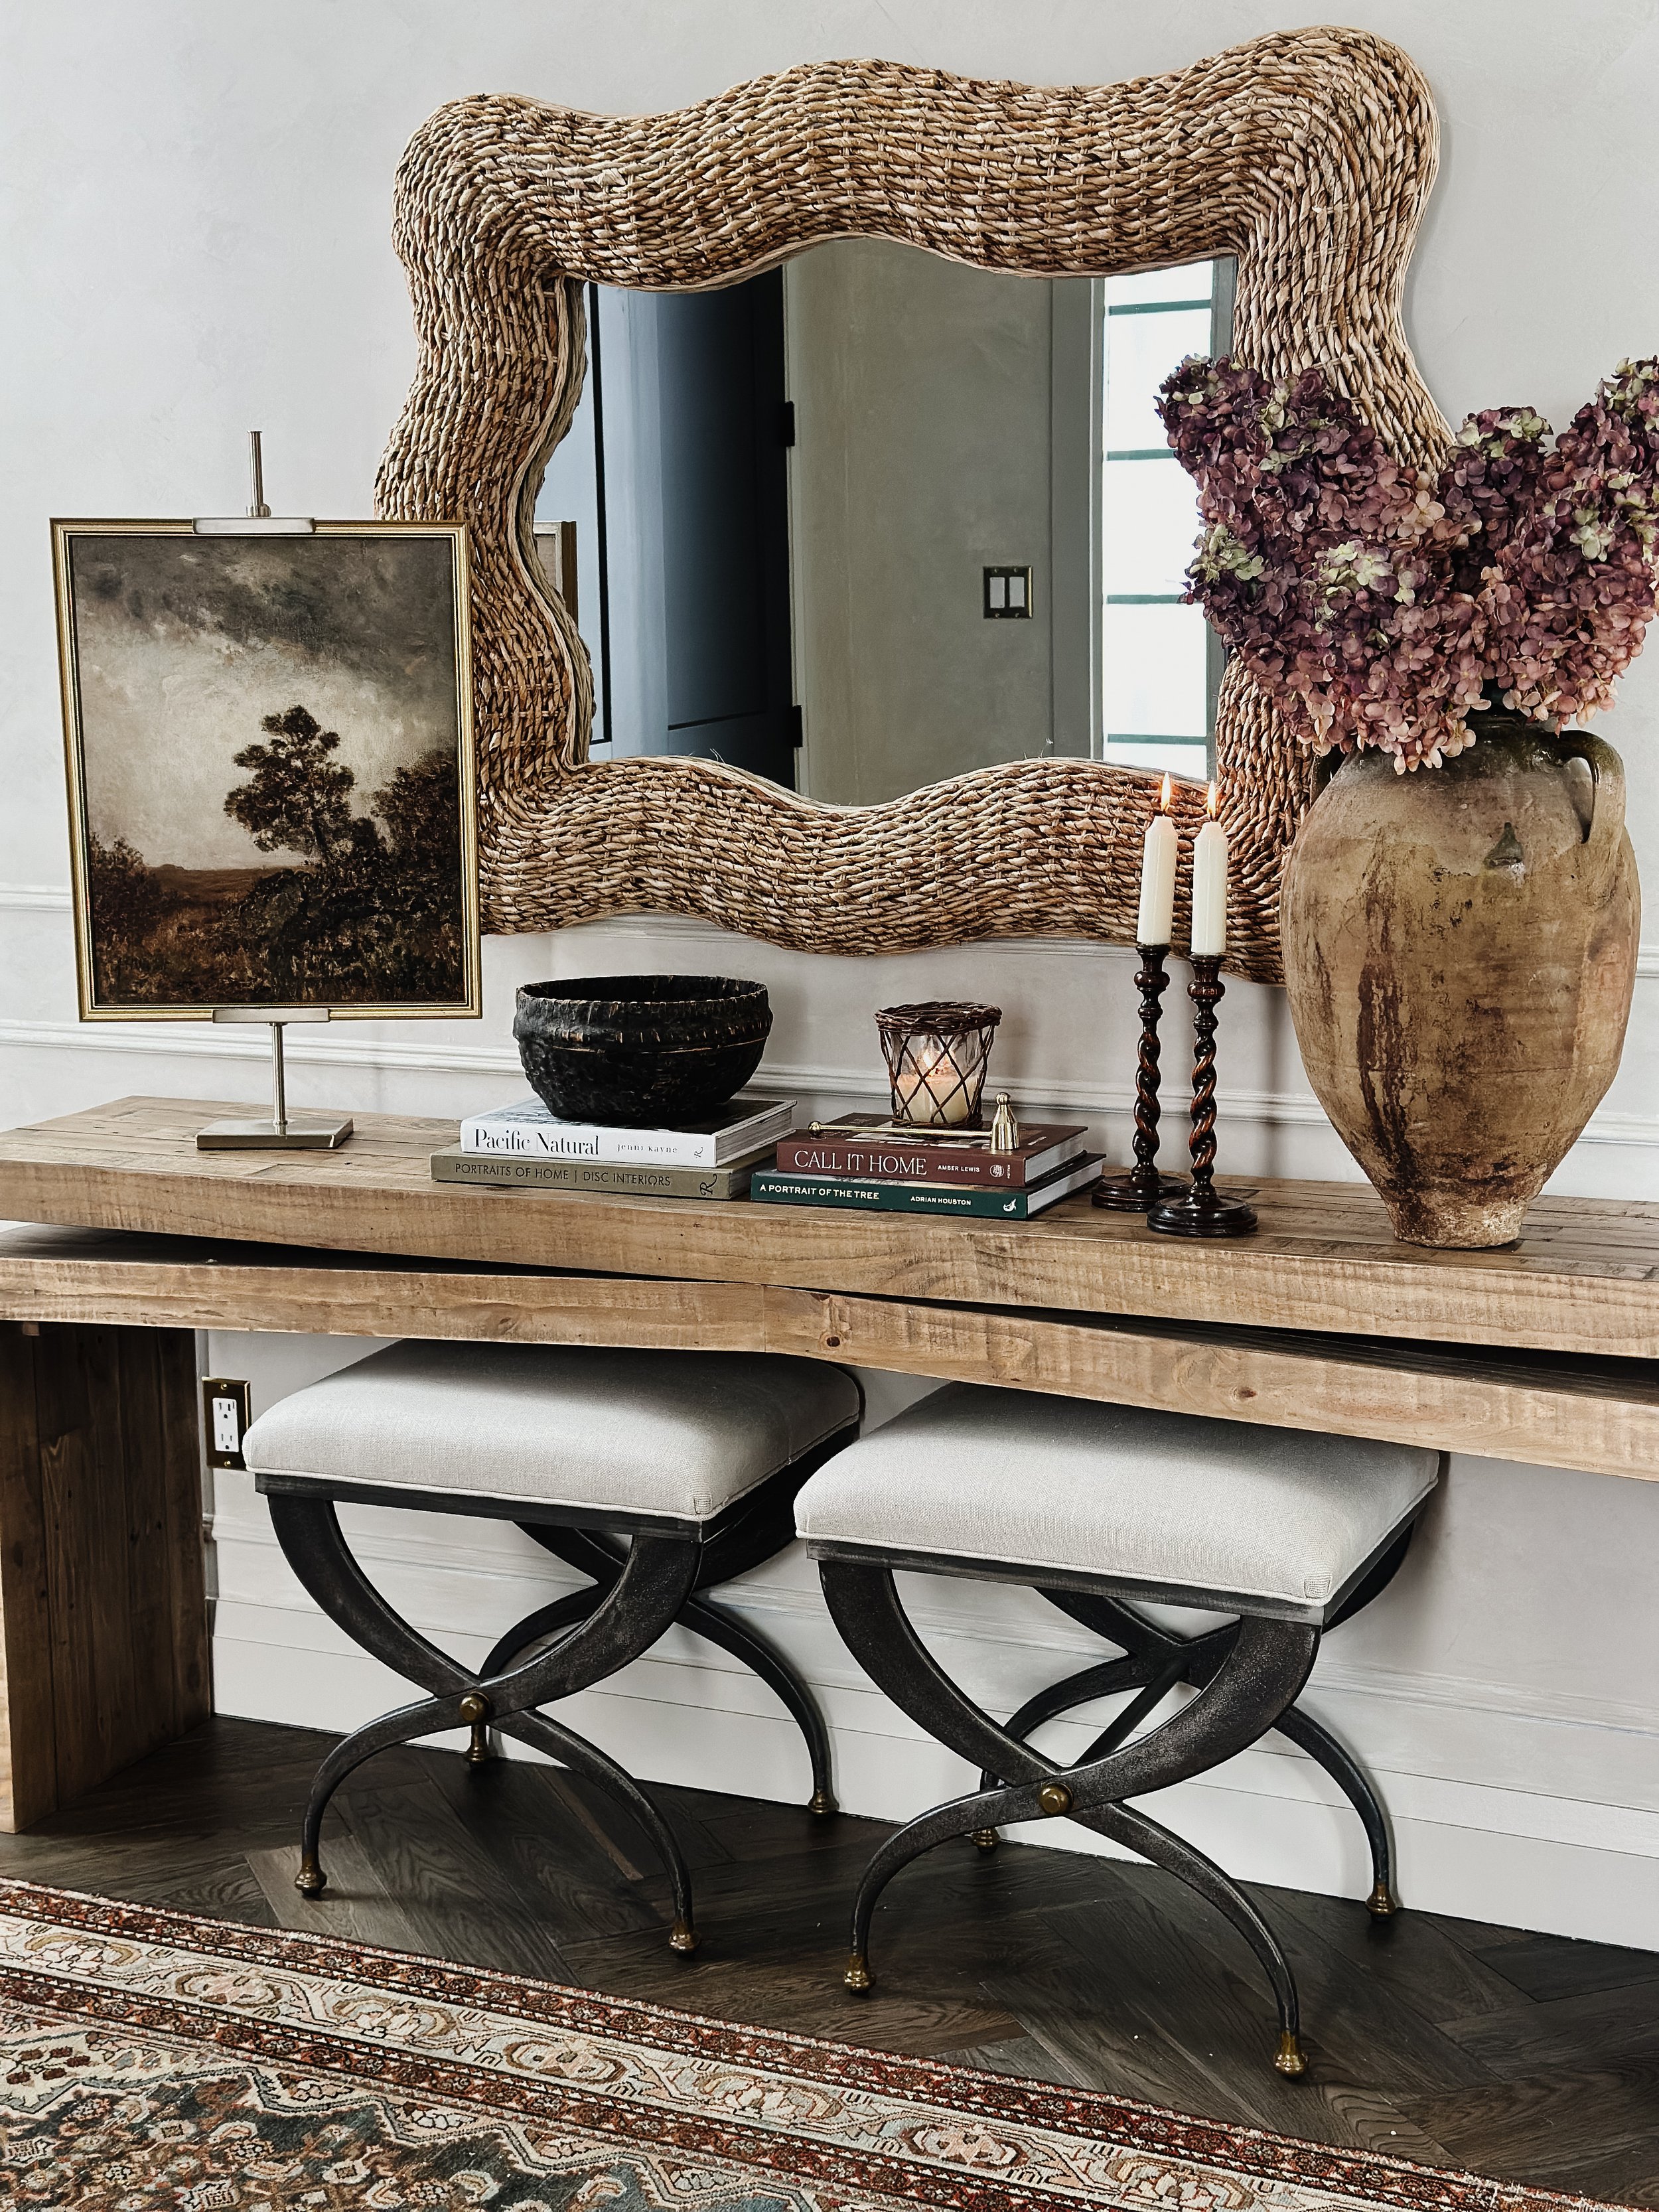
shop our entry refresh

