how to lime wash your walls
When it comes to trends in paint, there is a new favorite that we’re seeing all over IG and Pinterest. The textured paint “limewash” isn’t new though. Lime paint has a long history, as one of the first ever house paints coming from the Mediterranean and Roman regions. Lime paint is made from crushed Limestone that is fired at very high temperatures, mixed with water, and colored with natural pigments. The effect of limewash can be very striking and adds so much texture and movement to any wall. The old-world finish looks quite expensive, and can be quite expensive to have done so I knew there had to be a way to create my own on a budget.
I did some research and found lots of DIYS on Pinterest and Instagram. I used a couple of different techniques to create my own. Here is what you’ll need -
2 different paint colors 1-2 shades darker or lighter than each other
small paint tray
large stain brush
painters tape & drop cloth (especially if you’re a messy painter like me)
Step 1-
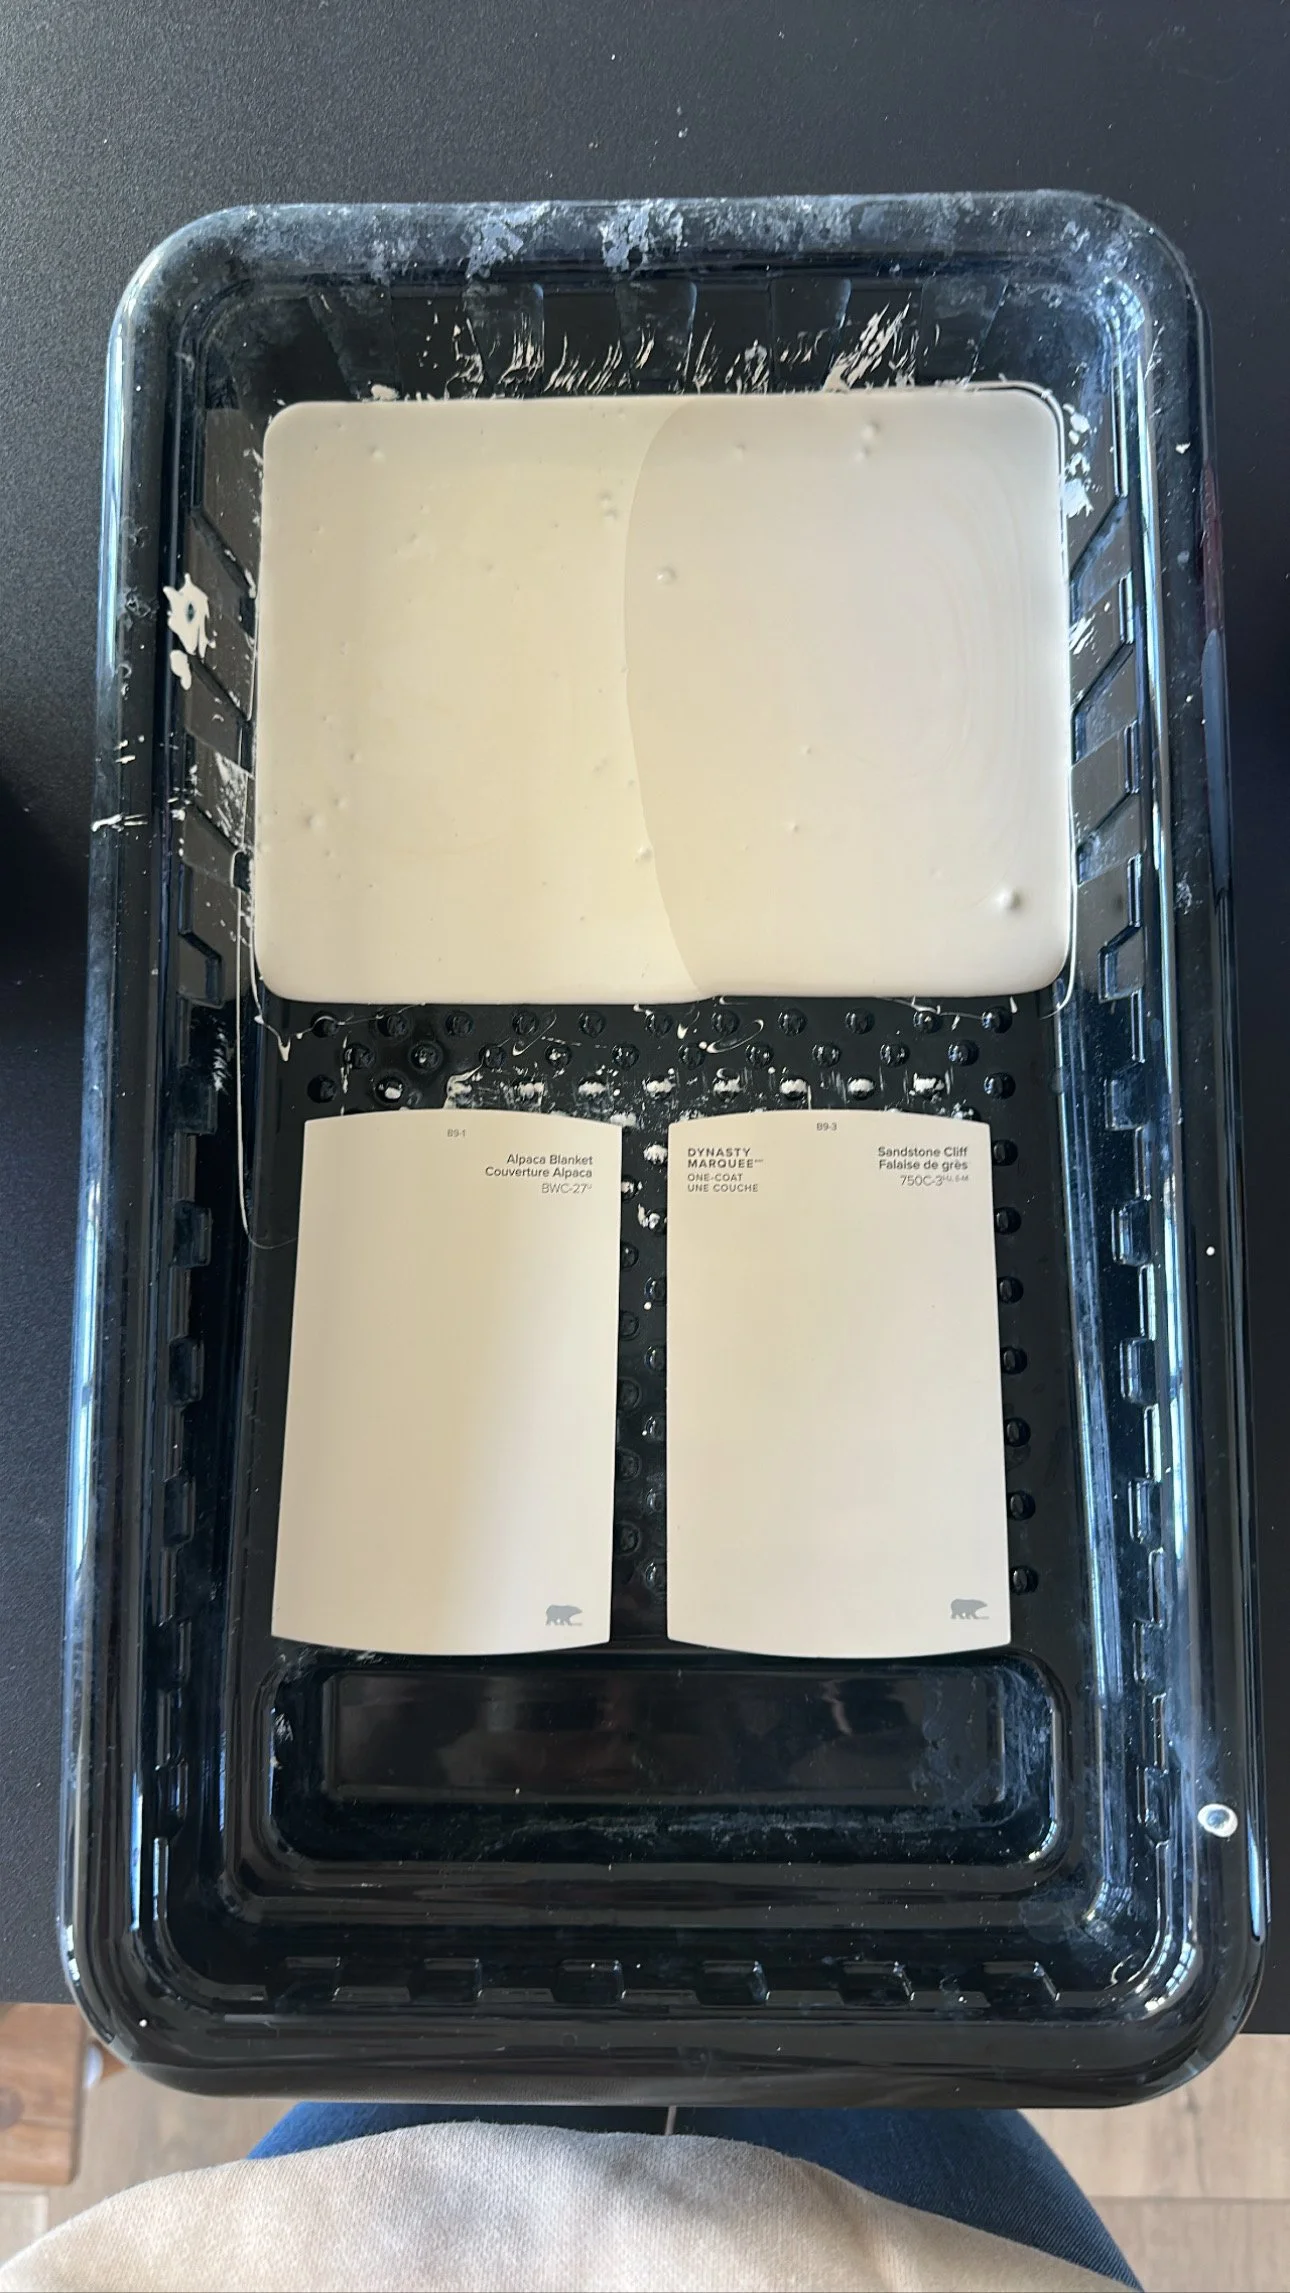
Select your paint colors. For my room, I chose Behr Alpaca Blanket and Behr Sandstone Cliff. Sandstone Cliff is 2 shades darker than Alpaca Blanket. I found that 2 shades darker gave me the visual difference in color that I was looking for. The shade difference will create the movement and faux texture of limewash.
Step 2-
Simultaneously pour both paint colors into the tray. You want equal amounts of both paint next to each other in the tray.
Step3-
Now, it’s time to start painting. Dip your brush straight down into the paint, very lightly. You don’t want the paint dripping off your brush. Just enough to cover the tips of the brush. I started in the bottom left corner of my wall and worked up and across. Take your brush and create x marks across the wall working wet paint to wet paint, and don’t get more paint on your brush until it is completely dry. Continue to work across your wall, and don’t worry about completely coving the paint underneath, this adds to the limewash look and can be covered with your second coat if needed.
step 4-
Paint your trim. I decided to paint my trim the darker of the two colors, but you can do whatever is your preference.
This is such a great budget-friendly alternative to Limewash. I used 2 quarts of each color to paint my entire room, and I am so happy with the results. The subtle movement, and softness it adds creates such a soothing and romantic atmosphere in our room. I love it so much! Let me know if you have any questions in the comments below, and I hope you’ll try this!!!


supplies I used